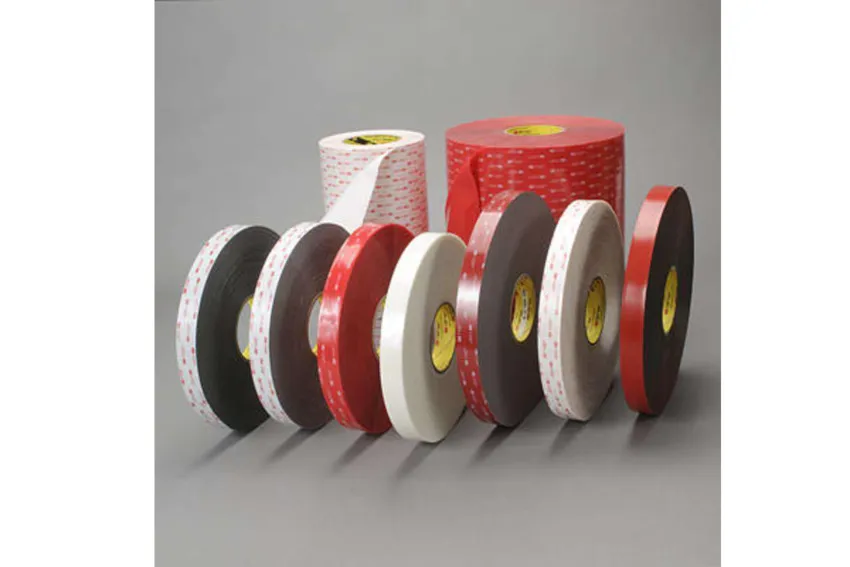
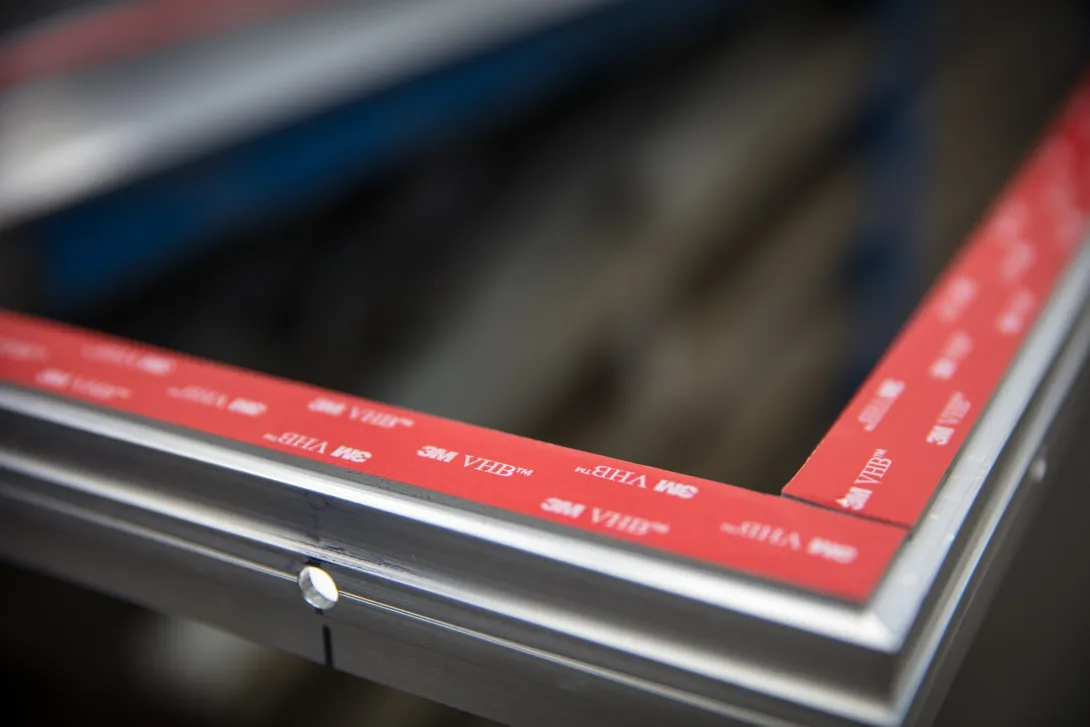
Application of 3M VHB Adhesive or 100% Acrylic Adhesive Foam

- 6 steps for effective application
- Strong and high-quality adhesion
- For 3M Scotch VHB and 100% acrylic adhesive foams ADEZIF and TESA ACX PLUS
Quote
Close
Get a quick quote from ADEZIF
Would you tell us more ?
Step 2/2
back
Thank you !
You request has been sent.
We promise to respond to you in detail within 24 hours.
In the meantime, feel free to browse our other products.
Overview
6 Steps for Proper Application of 3M™ VHB™ Adhesive Tape
3M™ VHB™ adhesive tapes provide a reliable solution for strong and durable industrial bonds. To ensure optimal adhesion, follow these detailed steps for proper application.
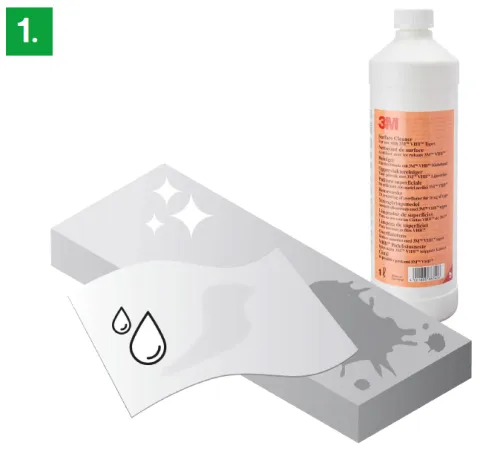
1. Surface Cleaning
Proper surface cleaning is essential to guarantee maximum adhesion:
- Wear gloves: Follow the safety data sheet instructions for the cleaner used.
- Use appropriate cloths: Choose clean, unscented, and plasticizer-free cloths.
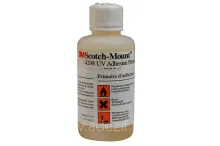
- Use specialized cleaners: Opt for a specific cleaner such as 3M™ VHB™ Surface Cleaner. Avoid household cleaners.
- Thoroughly clean: Continue cleaning until the surface is completely clean and grease-free. Replace the cloth frequently.
- For glass surfaces: Use 3M™ Silane Glass Treatment to clean and treat the glass surface properly.
Image
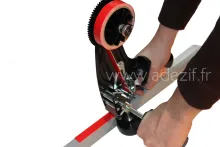
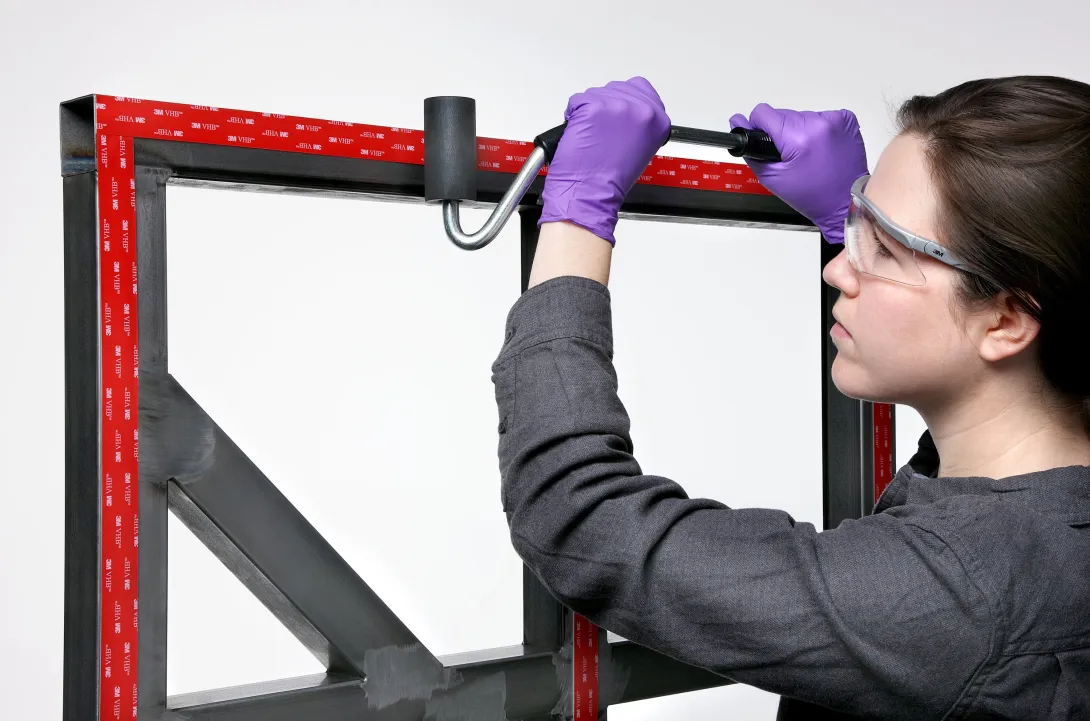
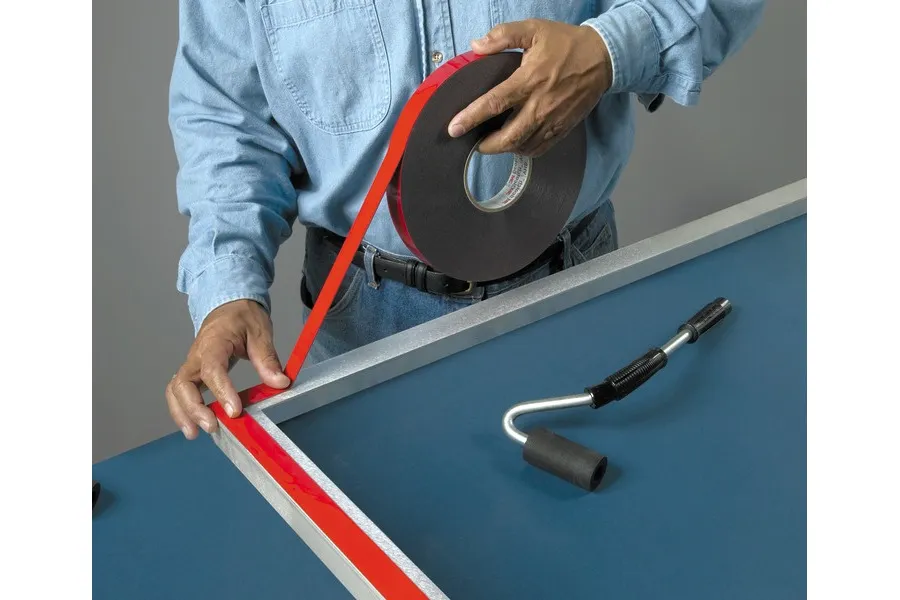
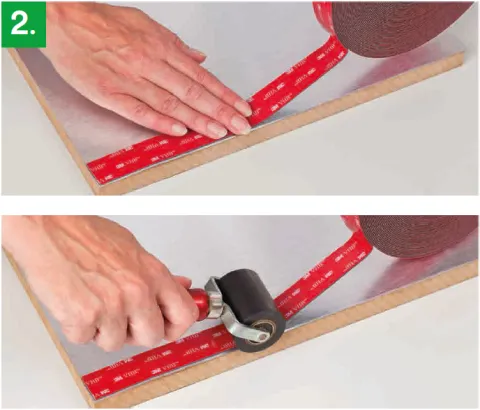
2. Applying the Adhesive Tape
- Apply without stretching: Unroll the tape without stretching it to avoid air bubbles.
- Cut off the touched section: Do not apply the first part of the tape that has been touched. Cut it off before applying.
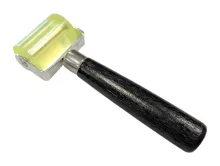
- Apply immediate pressure: Use manual pressure or a roller to apply 20 N/cm² of pressure for effective bonding.
Image
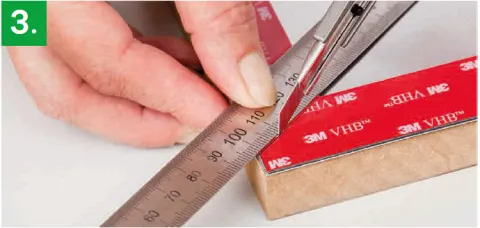
3. Beveled Edge Cutting
When cutting the edges of the tape, follow the recommended angles:
- 50°/40° cutting angle: Use this angle for a proper joint instead of the typical 45°/45°.
Image
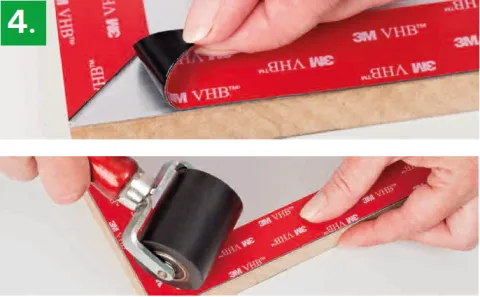
4. Trim the Exceeding Edges and Apply Firm Pressure
When finishing the application, trim the excess tape:
- Trim the excess edges carefully.
- Apply firm pressure: Use a roller or manual pressure to reinforce the adhesion after trimming.
Image
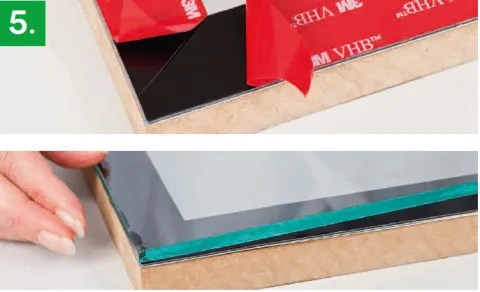
5. Removing the Liner and Applying the Second Part
- Remove the liner in one go: This is especially important for transparent tapes to avoid "stop marks".
- Do not touch the adhesive surface: Touching it may compromise adhesion.
- Apply the second part immediately after liner removal to prevent dirt from contaminating the adhesive surface.
Image
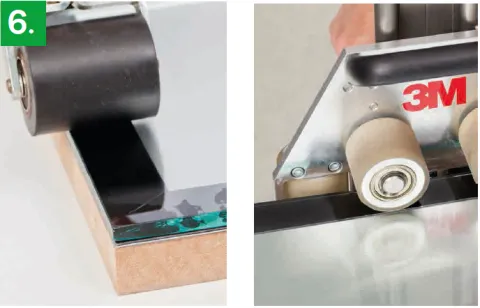
6. Applying the Second Surface
- Apply 20 N/cm² pressure: Ensure constant pressure to avoid air bubbles.
- Correct positioning is essential: Once applied, the piece cannot be repositioned due to the high adhesive strength.
The tape reaches its final bond strength after a specific curing time:
- 72 hours at 20°C: Required for the tape to achieve full strength.
- Accelerated curing: Full bond strength can be achieved in one hour at 65°C.
Image
Important warning
- The values and recommendations are based on reliable tests, but it is advised to conduct your own tests to ensure compatibility with your specific applications.
- Make sure to comply with local construction regulations when using adhesive tapes.